3D blockout vs 2D grids for dieselpunk machinery
The portfolio mistake I see most often in dieselpunk work is not a lack of imagination.
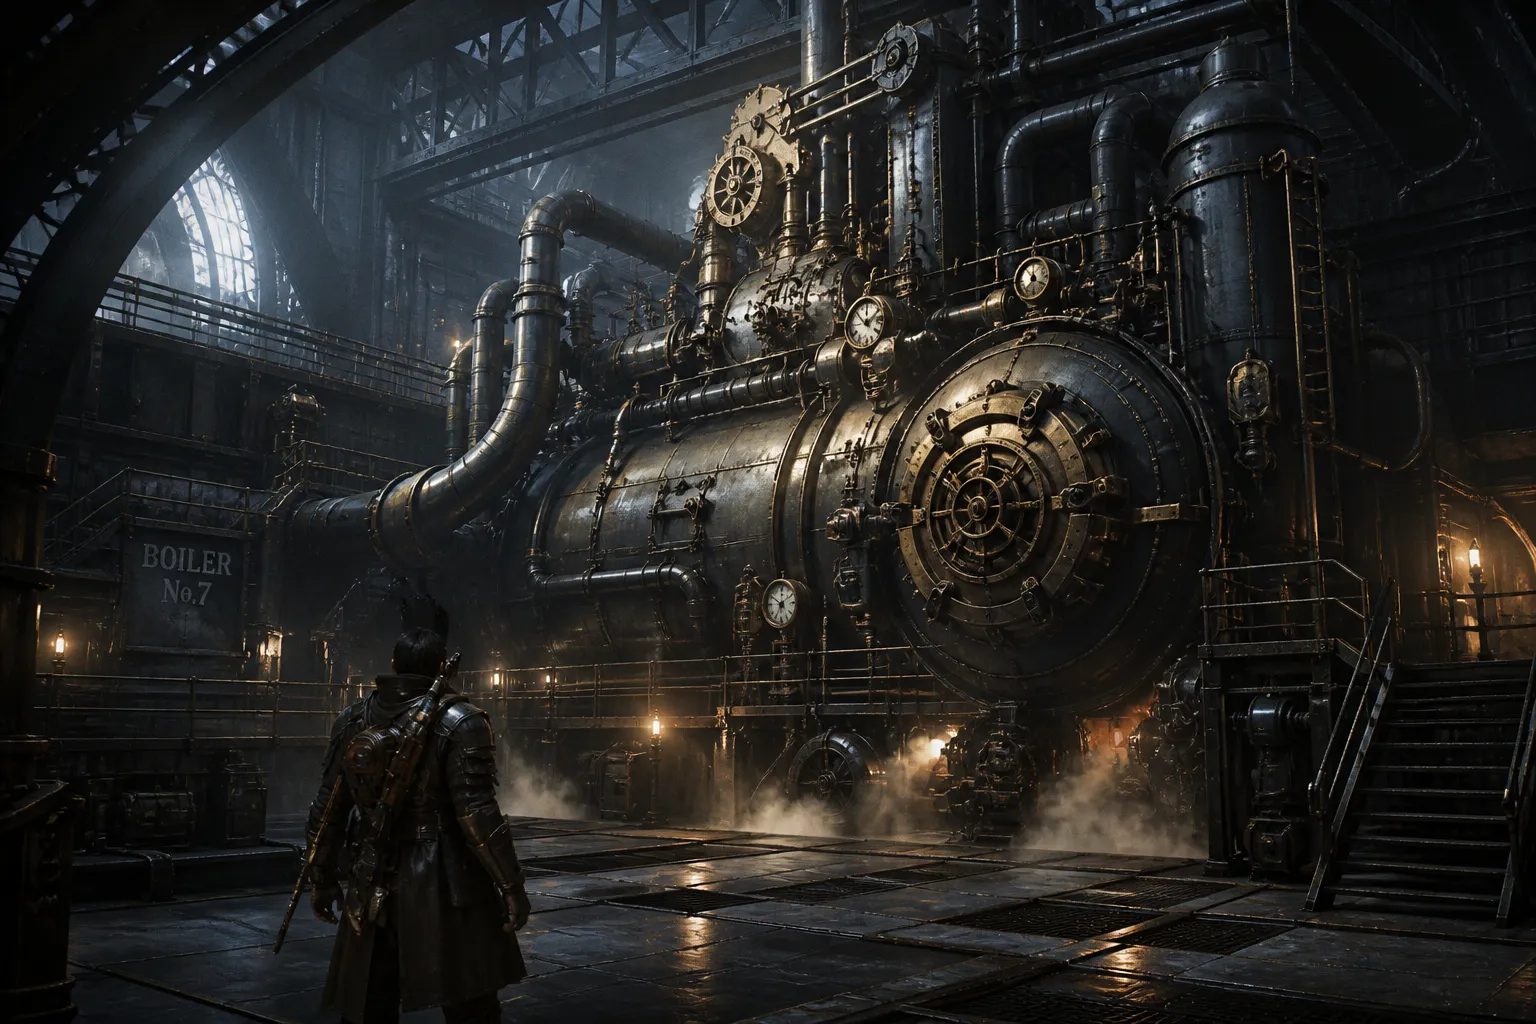
It is that an artist builds a beautiful brass boiler at full resolution, adds every rivet, every oil stain, every little pressure valve—and then discovers that the perspective is wobbling, the cylinders disagree with one another, and the whole thing turns into visual oatmeal at card-art size.
Compare car rental deals in United Kingdom
See available offersPartner link — DiscoverCars comparisonDieselpunk art perspective—3D blockout versus 2D grid—is not really a contest between “traditional” and “modern” methods. It is a production decision. Your choice changes how fast you can explore a vehicle, how confidently you can answer an art director’s revision note, and whether the final image reads as a massive industrial machine rather than a pile of fascinating metal parts.
I commission illustration with the final use in mind: a book cover, an editorial spot, a game card, a splash image that may be viewed at two inches wide. At that scale, the big shapes carry the pitch. Perspective has to support the silhouette before detail gets a vote.
The Geometry Challenge: Why Dieselpunk Machinery Defies Simple Grids
A dieselpunk airship, trench locomotive, armored crawler, or retro-futurist refinery is built from forms that are deceptively difficult to draw: cylinders, pipes, domes, turbines, gear housings, exhaust stacks, and riveted plates wrapped around curved volumes.
A basic two-point grid is excellent for a building facade, a crate, or a vehicle body with mostly planar surfaces. It gets more demanding when the machine is a stack of intersecting cylinders viewed from above, with a boiler cutting across the frame and pipework receding toward a third vanishing point. Suddenly, every circular opening needs an ellipse with the right degree, every pipe bend has to occupy convincing space, and every repeated part needs to stay aligned.
That ellipse degree is where many otherwise strong drawings quietly fall apart. A circle facing you is close to a full circle. As it turns away, it compresses toward a narrower ellipse. Its apparent rotation changes according to where it sits in space and how the viewer sees it. On a clean technical exercise, you can calculate and construct this patiently. In a dieselpunk vehicle design process, you may be doing it across twenty cylinders at different angles while also trying to make the machine look dramatic.
I have watched artists spend a full afternoon correcting one engine nacelle because they started rendering before the structure was settled. That is not a discipline problem. It is a workflow mismatch.
In machinery art, detail is not proof of construction. A believable large form is proof of construction.
A 2D perspective grid can absolutely handle complex industrial design. Skilled draftspeople have done so for generations, and a hand-drawn perspective scaffold often has more life than a perfectly sterile render. But the question is not whether it can be done. The useful question is whether the time you spend solving geometry by hand is buying you something the brief actually needs.
3D Blockouts: Where They Earn Their Place
A 3D blockout for 2D concept art is not a finished model, and it should not become one by accident. It is a rough spatial answer to a rough visual question.
In Blender, SketchUp, ZBrush, or a real-time tool such as Unreal Engine 5, you can establish an industrial vehicle with primitive forms: cubes for the armored chassis, cylinders for boilers, scaled spheres for domes, simple extrusions for fins or gantries. At this stage, nobody needs bevel-perfect rivets. You are testing mass, camera angle, proportion, lighting direction, and the relationship between the machine and its environment.
That gives you a few very practical advantages.
| Production question | 2D perspective grid | 3D blockout |
|---|---|---|
| Testing a single rough idea | Usually faster | Can be slower to set up |
| Changing camera angle after approval | Requires rebuilding perspective and redrawing forms | Rotate the camera and generate alternatives from the same scene |
| Managing several connected boilers, pipes, and turrets | Manual and error-prone as complexity rises | Spatial relationships remain consistent |
| Exploring lighting on large industrial volumes | Painted or constructed by eye | Lights can quickly establish usable reference |
| Handing a concept downstream to 3D | Limited as a structural asset | Blockout may serve as a starting base for modeling |
| Maintaining painterly character | Naturally direct | Requires a paint-over to avoid a rendered look |
In a studio pipeline, a usable blockout can save two to three days when the concept is complex enough to move between departments. That is not a magic number you should promise every client, and it does not apply to every image. But when a concept artist’s rough structure can be handed to a 3D modeler as a high-poly starting point—or simply used to settle camera and proportion before the paint-over—the savings are very real.
The biggest benefit is revision resilience. An art director says, “The front gun needs to face camera more,” or “Can we see more of the portside engine?” In a pure 2D drawing, that can mean rebuilding the vehicle. In a 3D scene, you can rotate the camera, adjust the object, pull several screenshots, and paint over the best one.
That does not mean 3D has replaced drawing. Please do not let a software workflow convince you that it has. The blockout solves spatial consistency; it does not solve design taste, atmosphere, composition, material storytelling, or the small visual decisions that make a machine feel as if it belongs to your world rather than a generic asset library.
The Point Where a 2D Grid Is Still the Better Tool
There is a temptation, especially among artists learning Blender, to make every thumbnail into a scene file. I would not recommend that. If the idea is small, disposable, or exploratory, 2D is often the more intelligent choice.
For a one-off editorial sketch, a quick cover thumbnail, or a composition based on a photographic reference, laying in a perspective overlay in Photoshop can be faster than modeling and matching a virtual camera. If you are drawing a dirigible dock from one existing photo reference, for example, you may only need a horizon line, two vanishing directions, a few major construction lines, and enough confidence to bend the reference into your design.
Use a 2D grid when:
1. You are still looking for the idea, not solving its engineering. Five loose silhouettes of an armored railcar tell you more about the design direction than a carefully assembled 3D mesh for the first idea that occurred to you.
2. The machine appears once and at a forgiving angle. If a background pumping station occupies a modest part of a book-cover scene, its role may be to establish scale and era, not to survive a technical turntable.
3. Your source is already doing much of the perspective work. Photographic plates, industrial archive material, and your own reference shots can be aligned under a grid and redrawn with surprising speed.
4. The brief needs expressive distortion. Sometimes the boiler should loom too large, the rail line should climb too aggressively, and the cab should feel improbably narrow because the composition needs threat. A grid can guide the image without becoming a cage.
5. You can draw the forms cleanly enough that 3D would be friction. This is the part beginners sometimes resist hearing. If you can confidently place a simple cylinder, rotate it, and attach pipework with decent construction, you do not need software to validate every shape.
A grid is not “old school,” and 3D is not automatically professional. The professional choice is the one that gets you to a clear, revisable image without wasting energy in the wrong place.
The Hybrid Workflow Is Usually the Sweet Spot
For most dieselpunk concept art, I prefer a hybrid workflow. It keeps the hard spatial work stable while preserving the hand, the editing, and the selective exaggeration that make an illustration feel designed.
Here is the sequence I would want to see behind a polished portfolio piece.
1. Start in 2D with ugly thumbnails. Keep them small. Find the silhouette, the camera height, and the narrative action first. Is this a low, brutal crawler pushing through mud? A towering artillery train? A civilian cargo flyer with an ominously oversized engine? If you cannot read the answer in a small black shape, no amount of pipe detail will rescue it.
2. Choose only the promising angle for the blockout. Do not build all ten thumbnails. Select the two or three with the clearest read and construct only enough geometry to compare them. This is where Blender is wonderfully useful: you can test an eye-level shot against a low-angle shot without redrawing the entire machine.
3. Block from primary to secondary forms. Chassis, boiler, cabin, wheel or track mass, wing or hull. Then add the engine housings, turrets, smoke stacks, and major pipe routes. Leave cables, rivets, gauges, and seams for later. If the vehicle feels dull in primitive shapes, it is not ready for ornament.
4. Set camera and light before painting. A single key light can tell you whether the boiler reads as a dominant volume or merely as a collection of grey tubes. You do not need cinematic rendering; you need a usable value map.
5. Paint over aggressively. Break the computer-perfect edges. Change proportions. Push atmospheric perspective. Replace generic mechanisms with design-specific ones. Photobashing can supply texture and material reference, but it should be subordinated to the drawing, not pasted on as evidence that the machine is “detailed.”
6. Return to the image at final-use scale. This is the step many artists skip. Reduce the piece to the size of a card illustration or a small web thumbnail. Does the vehicle still pop? Can you tell where the front is? Does the focal area survive? If not, simplify before you polish.
A blockout is a scaffold, not a verdict. Paint over it until the image belongs to you.
The paint-over is not a cosmetic final pass. It is where a sterile assembly of primitives becomes dieselpunk. You decide which surfaces are riveted, which sections are cast iron, which plates have been field-repaired, where soot accumulates, where heat discolours metal, and which components were bolted on by a crew that had to keep the machine running in bad weather.
Those are storytelling decisions. A 3D viewport cannot make them for you.
Readability: The Real Test of Industrial Detail
The visual language of dieselpunk invites excess. That is part of its charm. You have access to pipes, vents, pressure gauges, exposed turbines, ladder rungs, heavy cables, exhaust haze, brass fittings, grease, and a century’s worth of mechanical reference. The danger is that all of it receives equal emphasis.
When everything is described, nothing is prioritized.
I give portfolio feedback on this constantly: the artist has made every rivet with loving attention, but the silhouette of the vehicle is weak. Or the front engine, rear engine, cockpit, and turret all have the same value contrast, so the eye has no obvious route through the design. At full size, it feels impressively busy. At the size a client actually sees during an art drop, it collapses.
Build visual hierarchy in three passes:
- Primary read: the outer silhouette and the largest value masses. This tells us what kind of machine we are looking at and where it sits in the frame.
- Secondary read: the components that explain function—boiler, cockpit, track assembly, propeller, weapon mount, cargo pod, or exhaust system.
- Tertiary read: rivets, seams, gauges, hoses, serial markings, scratches, and material variation. These reward a closer look, but they should never be carrying the concept alone.
A 3D blockout is especially good at protecting the primary read because you can view the model as a flat silhouette or simple clay render. If the shape does not work there, you know the problem is structural. A 2D grid can do the same thing if you are disciplined enough to pause before detail and fill your sketch with a single dark value.
This is also why I would not recommend modeling every pipe in a blockout. A few large pipe runs establish the design logic. Fifty tiny ones can bury the silhouette before the painting has even started. In the final art, you can suggest complexity with grouped marks, selective edges, and a few sharply observed details near the focal point.
What Each Workflow Reveals in a Portfolio
When I look at speculative-fiction portfolios, I am not trying to guess whether an artist used Blender. I am looking for evidence that they can solve a brief.
A portfolio full of clean 3D-assisted images may show reliable structure, but if every camera is level, every material is evenly rendered, and every machine has the same neutral lighting, I worry that the artist is letting the tool make the visual decisions.
A portfolio built entirely from loose 2D sketches may show energy and invention, but if pipes detach from their engines, ellipses drift, and the artist avoids difficult angles, I worry about production reliability.
The strongest body of work usually shows range:
| Portfolio signal | What it tells a commissioner |
|---|---|
| Clear silhouette thumbnails alongside final work | You can design before rendering |
| A complex machine from more than one camera angle | You understand the object, not just one lucky view |
| Painterly final art over believable construction | You can use technical tools without losing authorship |
| A few simpler, fast 2D studies | You can think quickly and are not dependent on a heavy setup |
| Consistent scale cues—figures, doors, wheels, maintenance ladders | You understand how machinery occupies a world |
| Controlled focal detail | You know how an image will read in publication |
If you are building a dieselpunk portfolio specifically, I would rather see six machines with distinct roles than six versions of the same armored car. Show me a freight hauler, a field generator, a pursuit craft, a walking refinery, an anti-air emplacement, and a civilian maintenance vehicle. Give each one a clear functional premise. That is where your design thinking becomes visible.
And yes, include one image where the geometry is genuinely difficult: overlapping cylinders, a three-quarter camera, a complex industrial environment, a vehicle that has to sit convincingly on uneven ground. That piece is a good place to use a 3D blockout. You are not cheating. You are demonstrating that you know where accuracy pays for itself.
The Better Question Than “Which One Should I Use?”
The answer is rarely “3D” or “2D.” Ask what the image must do.
If you need a fast visual note, use a grid and draw. If you need to explore a heavy vehicle from several angles, build a blockout. If you need final portfolio art with atmosphere and character, use the blockout to settle the hard construction, then paint until the work stops looking like a screenshot.
The dieselpunk concept art workflow gets healthier when you stop treating tools as identities. You are not a “3D artist” because you use a blockout, and you are not more authentic because you wrestled every ellipse into place by hand. Your job is to make the machine readable, convincing, and memorable.
For your next piece, keep the first pass brutally simple. Make the silhouette work. Choose the camera with intention. Solve only as much geometry as the brief demands. Then spend your precious rendering hours on the things viewers actually remember: scale, mood, material, and the one strange design decision that makes your machine feel like it could only belong to your world.