Oil wash on pencil: a workflow for fantasy illustrators
Every oil wash over pencil begins with a problem the painter created the moment graphite touched the ground. Loose carbon particles — the residue sitting on the surface of any pencil drawing — behave like pigment with no binder.
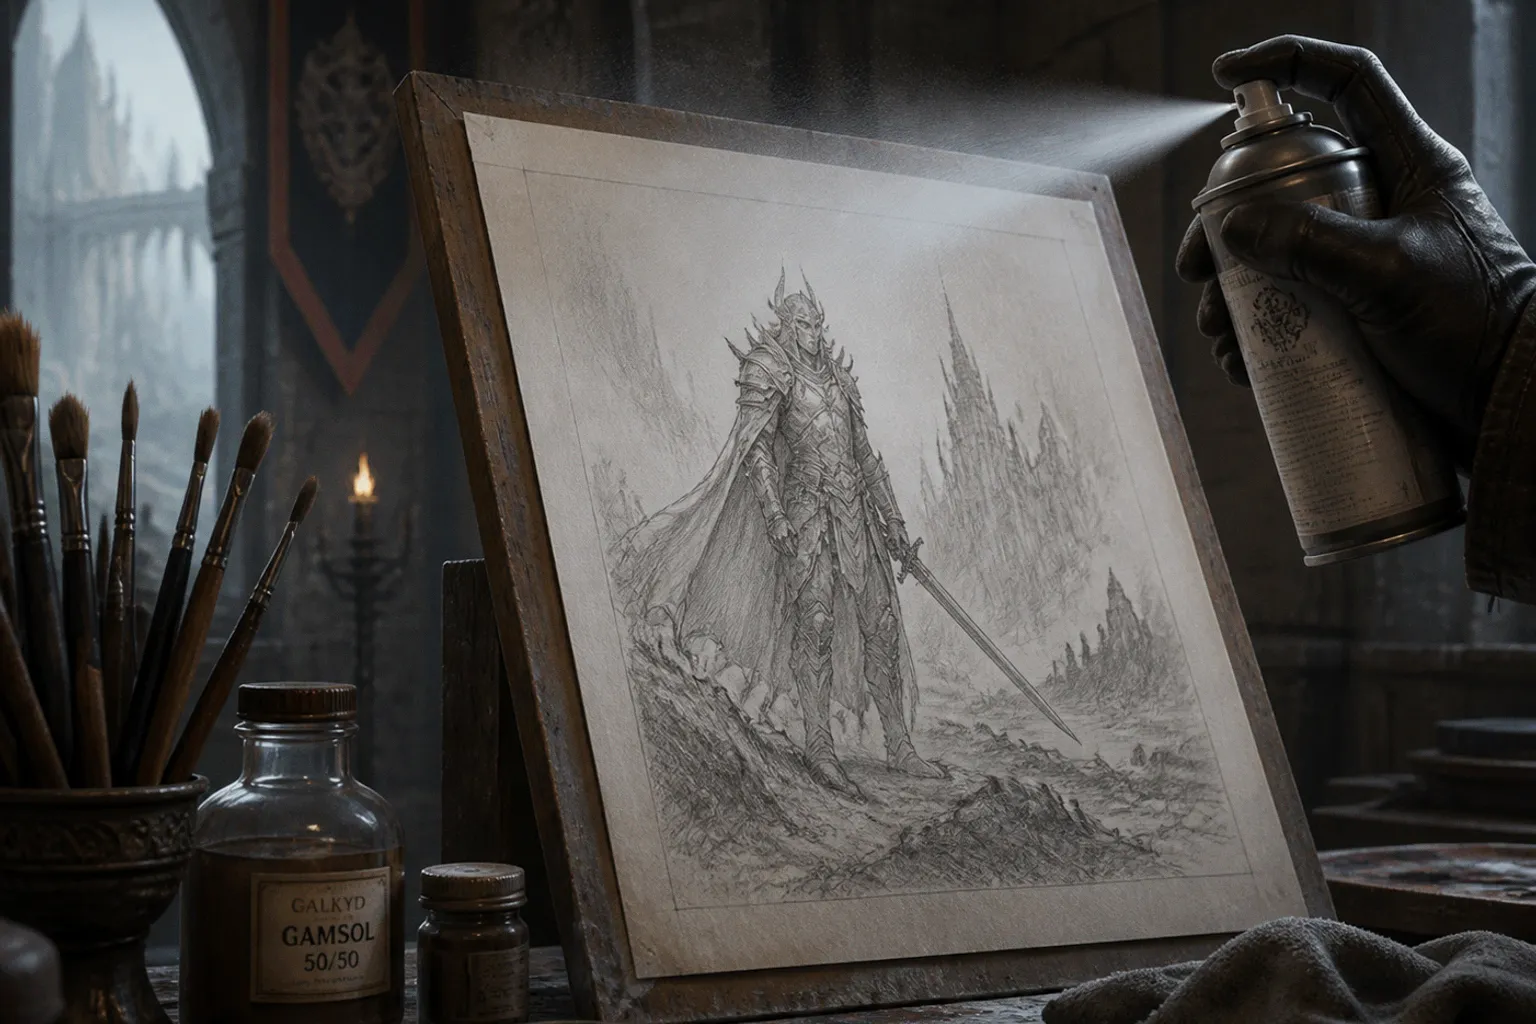
The Mechanics of Graphite Contamination: Why Washes Turn Muddy
They mobilize on contact with wet medium. They smear into transparent passages. They turn a luminous flesh tone into a dead, ashy haze. And once embedded in a wet oil layer, they cannot be removed without scraping.
This is not a matter of carelessness. It is a matter of material chemistry. Graphite in its raw particulate state is hydrophobic and oleophilic — it bonds readily with oil and solvent. When a brush loaded with thinned oil color passes over an unsealed pencil drawing, it lifts carbon directly into the wash. The result is a grey slurry that dulls every value relationship in the underpainting. Skin tones lose warmth. Atmospheric effects collapse into uniform mud. Highlights that should read as clean luminous passages become veiled and lifeless.
The severity of contamination correlates directly with three variables: the amount of loose graphite on the surface, the fluidity of the wash medium, and the pressure of application. A heavily worked pencil drawing on a toothy ground — say, a layered construction on heavyweight illustration board — carries significantly more free carbon than a light contour sketch on smooth gessoed panel. A lean wash at a 1:4 paint-to-solvent ratio mobilizes more particle matter than a thicker, binder-rich mixture. And a scrubbing motion, as opposed to a single directional pass, physically agitates the graphite layer.
Understanding these mechanics separates the illustrator who controls the wash from the one who simply applies it.
Graphite contamination is not a mistake you correct — it is a material failure you prevent at the surface preparation stage.
Surface Preparation and Graphite Stabilization Techniques
The pencil drawing must be rendered inert before any oil-based medium contacts it. This is a non-negotiable sequence. Skipping it or improvising with unsuitable materials introduces variables that compound through every subsequent layer.
Step One: Remove Loose Carbon
A kneaded eraser, gently rolled across the entire drawing surface, lifts up to 99% of loose particulate carbon. The operative word is rolled, not rubbed. Aggressive pressure forces graphite into the ground's tooth. The goal is to harvest the unbound particles — the ones sitting on top of the surface — while preserving the structural lines of the drawing that remain embedded in the ground's texture.
On rigid gessoed panels, this is straightforward. The panel does not flex, so erasing pressure distributes evenly. On stretched canvas, the surface gives under pressure, making control more difficult. For this reason alone, rigid panels are the superior support for pencil-to-oil workflows.
Step Two: Seal with Spray Fixative
After loose carbon removal, apply workable fixative. Hold the can 12 to 15 inches from the surface. Use light, alternating horizontal and vertical passes — not a single heavy coat. Allow 15 minutes of drying time between coats. Two coats are standard; three are advisable for heavily built-up graphite areas.
The fixative's function is to bind the remaining surface graphite particles into a film that resists mobilization when wet medium is applied over it. The formulation must be workable — meaning it accepts subsequent media without beading or repelling them. Standard studio practice favors products from manufacturers with archival commitments, but no fixative has been independently verified over a century-plus timeline under oil paint film. This is a known gap in conservation data, and honesty requires acknowledging it.
What is established: hairspray is not a substitute. Its resin formulation yellows and becomes chemically unstable within years. It discolors transparent glaze layers. Do not use it.
Step Three: Seal with Acrylic Medium
This is the critical bridge layer. A thin, even application of acrylic matte medium — brushed or rolled over the fixed drawing — creates a physical barrier between the graphite layer and the oil wash above. Acrylic medium bonds to the fixative and to itself, forming a non-porous film that oil cannot penetrate deeply enough to mobilize carbon beneath it.
A common error at this stage: applying acrylic gesso or medium directly over an unfixed pencil drawing. The water content in acrylic medium reactivates and mobilizes loose graphite, producing exactly the grey slurry the entire process is designed to prevent. The fixative layer must be in place first.
James Gurney's documented workflow for his Dinotopia paintings follows this exact sequence — pencil drawing on heavyweight illustration board, fixed with workable fixative, sealed with a thin layer of acrylic matte medium — before any oil color is introduced. It is a proven, field-tested method from a working illustrator, not a theoretical exercise.
Alternative: Wax-Based Colored Pencil
For artists who want to bypass the graphite contamination problem entirely, wax-based colored pencils present a viable alternative for the underdrawing. The wax binder makes the pigment significantly less prone to smearing when contacted by wet media. A warm-toned pencil — a raw sienna or burnt umber equivalent — can also serve double duty by establishing a warm undertone that supports the subsequent oil palette. The tradeoff is reduced precision on smooth grounds, since wax pencils perform best on surfaces with moderate tooth.
| Preparation Method | Contamination Risk | Sealing Required | Best Support | Time Investment |
|---|---|---|---|---|
| Standard graphite pencil | High | Fixative + acrylic medium | Rigid gessoed panel | Moderate (multiple coats, drying intervals) |
| Graphite on toned ground | High | Fixative + acrylic medium | Rigid panel or illustration board | Moderate |
| Wax-based colored pencil | Low | Optional single fixative coat | Textured panel or illustration board | Low |
| Graphite, no sealing (not recommended) | Severe | None | N/A | None — but the painting will fail |
Formulating the Perfect Underpainting Wash: Binder-to-Solvent Ratios
The underpainting wash is not diluted paint. It is a carefully balanced system of pigment, binder, and solvent. Remove or diminish any one component and the paint film degrades.
Pure solvent — turpentine or mineral spirits — dissolves and thins oil paint, but it strips the binder from the pigment. A solvent-only wash deposits unbound pigment on the surface. When the solvent evaporates, what remains is a dry, chalky powder sitting on the ground with no film cohesion. Subsequent paint layers bond to this powder unreliably. Over time, the underpainting can powder and delaminate. Do not use solvent alone.
A functional underpainting wash requires a binder-bearing medium. The standard formulation is a 50/50 blend of alkyd medium (such as Galkyd) and solvent (such as Gamsol). The alkyd component provides the binder — it crosslinks as it dries, forming a coherent film. The solvent provides the fluidity needed for even, thin application. This ratio produces a wash that is lean enough to dry within hours but structurally sound enough to support subsequent paint layers.
For the initial imprimatura — the first toned ground laid over the sealed drawing — a lean ratio of approximately 1 part oil paint to 4 parts medium is standard. This produces a translucent stain, not an opaque layer. The purpose of the imprimatura is to establish a unified value and temperature base across the entire support, killing the white of the ground and giving the eye a middle value to read against.
Common imprimatura pigments and their properties:
- Raw umber: Cool, fast-drying, excellent for establishing shadow architecture in fantasy environments with stone, iron, or twilight atmospheres
- Yellow ochre: Warm, moderate transparency, ideal for skin tones and interior scenes with firelight
- Burnt sienna: Warm-to-neutral, good all-purpose tone that supports both warm and cool passages above it
- Raw sienna: Lean, fast-drying, complements flesh palettes without introducing excessive warmth
Allow the imprimatura 10 to 15 minutes of setting time before drawing into it with oil-based marks. The surface should be tacky, not wet. At this stage, the illustrator can reinforce or restate key contours and shadow masses directly in oil, over the sealed pencil structure, using a small round or filbert loaded with a slightly thicker mixture.
A solvent-only wash is not an underpainting — it is loose pigment waiting to delaminate. The binder is not optional.
Applying the Wash: Controlled Application and Drying Intervals
Application technique determines whether the wash serves the painting or undermines it. The objective is a uniform, transparent layer that establishes value relationships without obscuring the pencil drawing beneath — the drawing that still provides the structural map for every subsequent pass of paint.
Load a large flat or filbert brush — hog bristle, not synthetic, for better pigment distribution at low viscosity — with the formulated wash. Work in broad, single-directional strokes. Do not scrub. Scrubbing agitates the sealed surface and can breach the acrylic barrier, especially if the medium layer was applied thinly. Each stroke should pass over a given area once. If coverage is uneven, wait for the wash to set, then apply a second pass over the area needing correction.
The Edge Control Problem
In shadow areas, the wash naturally wants to pool and darken at edges where adjacent values meet. This is a function of surface tension: the medium flows to the lowest points of the ground's texture and concentrates there. On canvas, the weave exacerbates this, creating a grid pattern of darker pigment in the shadow masses.
The countermeasure is twofold. First, use a support with minimal surface texture — smooth gessoed panel or heavy illustration board. Second, immediately after laying a shadow wash, go back with a clean, dry brush and feather the pooled edges outward. This must happen within the working time of the wash — roughly 3 to 5 minutes before the alkyd binder begins to set.
Drying Intervals Between Layers
An alkyd-based wash at the 50/50 ratio described above dries to the touch within 2 to 4 hours under normal studio conditions (70°F, 40-50% relative humidity). Full cure takes longer — 24 hours is standard before applying subsequent paint layers of any thickness. Rushing this interval risks interlayer adhesion failure. The underpainting layer must be dry enough that solvent from the next layer cannot penetrate and reactivate it.
For fantasy illustrators working under deadline, the temptation to paint into a tacky wash is real. The result — a characteristic bleeding where the wash color rises into the upper paint layer — can be exploited intentionally for atmospheric effects (fog, smoke, supernatural haze). But it must be a deliberate choice, not a consequence of impatience. Uncontrolled bleeding destroys value precision.
Layering Sequence Summary
1. Pencil drawing — structural underdrawing on support
2. Kneaded eraser — remove loose carbon
3. Spray fixative — 2–3 light coats, 15 minutes between each
4. Acrylic matte medium — thin, even seal coat; allow full dry (1–2 hours)
5. Imprimatura — lean oil wash, 1:4 paint-to-medium ratio; allow 10–15 minutes to set
6. Restated drawing in oil — thin strokes over tacky imprimatura; allow to dry
7. Full oil painting — proceeding from lean to fat, dark to light
Long-term Considerations: Transparency and Paint Film Integrity
Oil paint becomes more transparent as it ages. This is a well-documented phenomenon, driven by changes in the refractive index of the drying oil binder over decades. A passage that was opaque when painted in 2024 will, by 2074, have shifted measurably toward translucency. This matters for the pencil-under-oil technique because the underdrawing — sealed beneath acrylic medium and buried under oil layers — becomes increasingly visible through the paint film over time.
If the graphite lines are heavy, they will eventually ghost through thin paint passages. This is not graphite migration — the carbon particles do not physically move upward through the cured oil film. The paint above simply becomes transparent enough to reveal what was always underneath. In a fantasy illustration intended for reproduction and short display cycles, this is largely academic. In a gallery painting or private commission expected to last generations, it demands attention.
The mitigation is structural. Use thicker paint application in areas directly above strong pencil lines. Reserve thin, transparent passages for areas where the underdrawing is minimal or absent. Alternatively, plan the pencil drawing with this inevitability in mind — use lighter pressure in areas that will carry thin glazes, and heavier structural lines only in regions that will receive opaque impasto.
The acrylic medium seal layer itself introduces a minor conservation variable. Acrylic and oil have different expansion-contraction rates under temperature fluctuation. Over very long periods, micro-cracking at the interface between the acrylic seal and the oil wash above it is theoretically possible. Current documentation of this specific failure mode extends only around 30 years of observed field data. The unknowns beyond that window are real, and any claim of guaranteed century-plus archival stability for this mixed-media sequence is speculative.
For the working illustrator — producing fantasy art for book covers, card games, gallery prints, and collector markets — the practical lifespan of a properly executed oil-wash-over-pencil painting comfortably exceeds the professional horizon of the work. The materials, correctly applied, are stable. The sequence is sound. The risks are manageable with proper preparation and honest awareness of what is established fact and what remains untested over deep time.
The technique works. But it works only when every layer in the sequence earns its place through correct material behavior, not through assumption. Graphite must be stabilized. The wash must carry binder. The seal must be continuous. Skip any step, and the painting tells you — not immediately, but inevitably.