Oil painting mediums: which drying agent fits your workflow?
A trade deadline hits Friday. The brief calls for a fully rendered dragon knight in the established TCG style: oils on board, final file ready before the week closes.
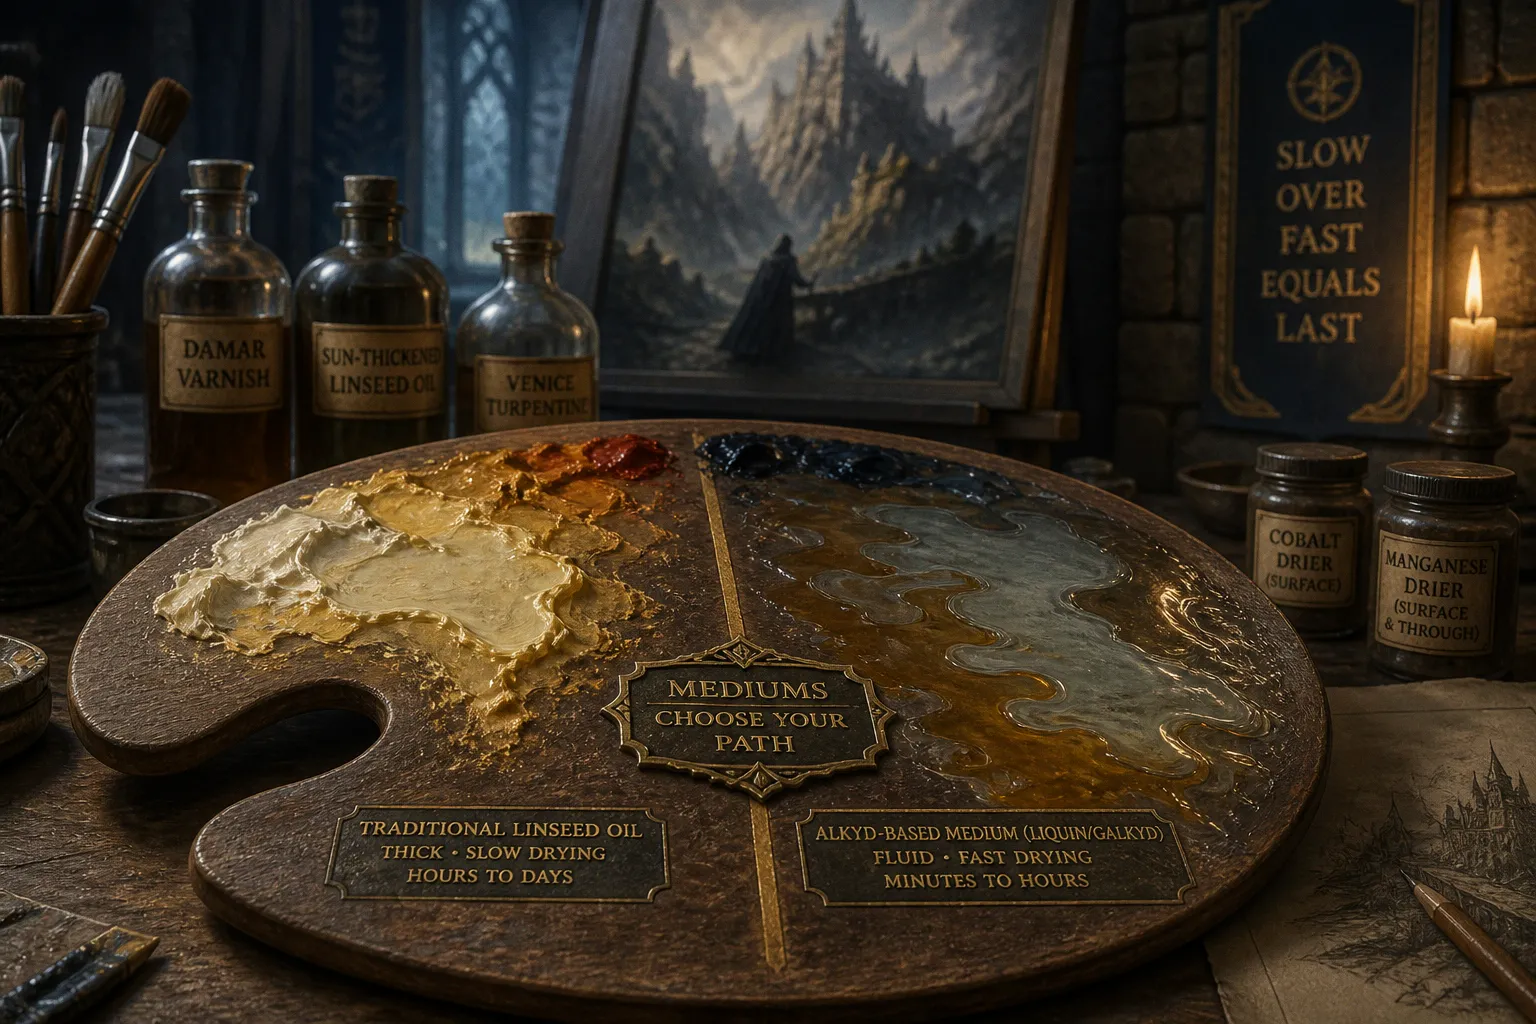
By Wednesday, the underpainting is still tacky, the next glaze is dragging color out of the layer below, and the client wants a progress image. The failure rarely begins with the brushwork. It begins with the medium choice made on Monday.
Compare car rental deals in United Kingdom
See available offersPartner link — DiscoverCars comparisonThat is the real question behind oil painting mediums for fantasy illustration: not which bottle is “best,” but which drying behavior belongs at which point in the painting. Oils earn their place in fantasy work through depth, edge control, and that particular ability to make armor, skin, smoke, and old gold feel as though they occupy the same air. They also cure on their own timetable. A painter who ignores that timetable eventually starts negotiating with a half-dry surface—and the surface usually wins.
The Fantasy Illustrator’s Dilemma: Speed vs. Stability
Traditional oil paint gives you time. A fresh passage can remain open long enough to merge a dragon’s wing into storm cloud, soften a face without making it plastic, or pull reflected firelight across a steel pauldron in one continuous sitting. That slowness is not a defect. It is one of the reasons oils remain so difficult to replace.
It becomes a defect only when the workflow expects the painting to behave like acrylic.
Illustration schedules are unusually unforgiving because a painting is not merely being finished. It may need to be photographed, scanned, corrected for reproduction, approved, packed, or put aside while the next card or cover begins. If the surface is still soft enough to take a fingerprint, it is not really ready for any of those stages. The temptation, then, is to force the drying with whatever is closest at hand: more solvent, more medium, more drier, more heat. That is where a workable schedule turns into a structural problem.
The useful version of fat over lean is less mystical than it sounds. Lower layers should not remain substantially more mobile than the layers above them. A lean, solvent-thinned block-in can sit beneath a somewhat richer paint layer. A faster-setting underpainting can support a slower, oil-rich final glaze. What causes trouble is not simply “oil below, alkyd above,” or any other slogan. It is building a surface where a tight, rapidly setting skin restrains a layer beneath that is still moving and curing.
A fast surface is not the same thing as a stable painting. The point is to make the whole stack behave predictably.
For fantasy illustration, that often means making a decision before the first wash: is this a painting designed to stay open for several sessions, or is it a deadline piece designed to set between passes? Both approaches are valid. Switching between them blindly is what produces trouble.
A few practical habits make the choice clearer:
- Keep early washes lean and physically thin. Their job is to establish value, drawing, and large color placement—not to create a glossy final surface.
- Use richer mixtures later, when the forms and edges are already decided.
- Treat thick passages differently from transparent glazes. A raised highlight on a sword or a dragon’s eye needs more time and more caution than a thin atmospheric veil.
- Do not mistake touch-dry for fully cured. A surface can feel dry enough to work over while the deeper paint film is still developing strength.
- Build a repeatable studio sequence. The more often you move from sketch to block-in to render under deadline, the less useful improvisation becomes.
Alkyd Mediums: Accelerating the Path to Final Render
Alkyd mediums exist because painters needed oil paint to move faster without entirely losing its character. They are modified oil-resin systems that generally increase flow, gloss, and drying speed. In a commission workflow, that can mean the difference between returning to a passage tomorrow and returning to it next week.
Liquin and Galkyd are familiar names because they solve a very ordinary studio problem: paint that otherwise remains open too long for layered illustration. A small amount can make a thin block-in set quickly enough to receive the next pass on the following day. It can also make the paint feel more fluid without drowning it in solvent.
The attraction is obvious for a painter handling a sequence such as sketch, value pass, color render, correction, final scan. But an alkyd medium is not a magic permission slip to paint every layer at maximum speed. It changes the behavior of the paint film. The paint may become glossier, the brush may travel farther, and a passage may set before you have had time to nurse a wet blend into place. For broad skies, fog, skin transitions, and the long subtle shift across a creature’s hide, that faster set can feel abrupt.
Here is the practical comparison that matters at the easel:
| Parameter | Alkyd medium | Traditional drying oil |
|---|---|---|
| Working character | Fluid, quick-setting, often glossy | Open, slow, responsive for extended blending |
| Best use | Lean block-ins, layered renders, deadline-driven revisions | Final modulation, slow blends, rich transparent passages |
| Surface behavior | Can set firm relatively quickly | Remains workable longer |
| Main risk | A surface that sets too quickly or becomes overly slick | Slow drying, excessive richness in early layers |
| Good habit | Use modestly and consistently through the relevant stage | Reserve for later, richer layers rather than early washes |
A common all-purpose approach is to thin an alkyd medium with odorless mineral spirits for a leaner early-stage mixture. That can be useful when the goal is a stain-like wash that establishes the composition without leaving a heavy, glossy film. The exact ratio matters less than the result: the wash should be thin, controlled, and allowed to set before the next layer goes down.
For main rendering, many painters use less solvent and more paint. This is where the medium earns its keep. Instead of trying to turn every color into a transparent glaze, let the paint retain enough body to cover, scumble, and articulate an edge. Fantasy art lives or dies on that range: misty transparency in one corner, opaque light catching a blade in another.
The usual liquin vs linseed oil fantasy art argument is therefore not really a contest. Linseed oil gives you a longer open time and a more traditional richness. Alkyd gives you a faster reset between layers. If the illustration needs to be revisited over several days, linseed may be exactly right. If it must move through controlled passes on consecutive days, alkyd is often the more rational choice.
A painter can also separate the decision by area rather than treating the whole painting as one material problem. The distant architecture may benefit from a quick, thin alkyd-assisted pass because it needs little revisiting. The face of the knight, the warm reflection under a creature’s jaw, or the final veil over a moonlit sky may deserve the slower handling of a more traditional mixture. The painting does not require one bottle from first mark to last; it requires that each layer makes sense over the one beneath it.
One caution belongs here. Alkyd products are already designed to promote faster drying. Adding a separate drier to an alkyd-containing paint mixture may push the surface toward setting too rapidly, especially in thicker passages. That does not mean every combination will fail. It means the burden of proof is on the experiment, not on the deadline.
The Chemistry of Driers: Cobalt vs. Manganese Performance
Driers are not painting mediums. They are additives intended to accelerate the oxidative drying of oil. That difference is easy to miss because both arrive in small bottles and both promise speed. But medium changes handling and film character; a drier is a much more direct intervention in the drying process.
The two names painters encounter most often are cobalt and manganese. Neither should be treated as a casual extra ingredient. If a medium is the steering wheel, a drier is the accelerator pressed too hard.
Cobalt driers are associated with rapid surface drying. Used sparingly, they can help a thin paint layer set. Used excessively, they may encourage the surface to firm up before the deeper paint has had time to keep pace. In a thin, lean passage that may be manageable. In a dense, oily dark or a thick highlight, it is a bad place to improvise.
Manganese is often discussed as a more balanced alternative because it can assist drying through more of the paint layer rather than merely encouraging a quick skin at the top. That makes it attractive for painters building several transparent layers or working with darker mixtures that seem reluctant to set. Still, “more balanced” is not the same as harmless. Too much drier of any kind can alter drying behavior in ways that only reveal themselves after the painting has left the studio.
| Parameter | Cobalt drier | Manganese drier |
|---|---|---|
| General character | Strong surface-drying effect | Often used for more even drying through a layer |
| Useful context | Very thin passages, carefully tested use | Layered work where a steadier set is desired |
| Main danger | Surface setting ahead of the body of the paint | Over-acceleration when added without restraint |
| Best working attitude | Minimal, measured, never improvised by brushfuls | Minimal, measured, tested on the same materials |
The important word is minimal. Follow the product’s instructions rather than inventing a studio dose from hearsay. Keep the mixture consistent. Test it on the same primed board, with the same colors and approximate layer thickness used in the actual work. A swatch of pale paint can tell you almost nothing about how an oily, transparent crimson will behave over a dark underpainting.
Separate driers are a correction for a specific drying problem, not a default ingredient in every palette cup.
This is especially true with alkyd workflows. If you are already using Liquin, Galkyd, or another fast-setting alkyd medium, begin by seeing how that system performs on its own. Adding a separate cobalt or manganese drier may increase the risk of an overly rapid surface set. In most deadline painting, simplifying the mixture is safer than trying to engineer a chemical sprint at the palette.
There is also a practical issue that gets lost in technical talk: a drier does not repair indecision. It will not make an overworked wet blend cleaner, nor will it make an underpainting structurally sound because the schedule says it should be. If the paint is too thick, too oily, or too variable from one passage to the next, the answer is usually to change the next layer’s method—not to dose the current layer harder.
Securing the Sketch: Sealing Graphite for Oil Washes
The graphite sketch is the skeleton of a fantasy illustration. It holds the tilt of the helmet, the gesture of the mounted figure, the angle that makes a wyvern feel airborne rather than pasted onto the clouds. Losing it beneath the first wash is not always catastrophic, but it is a needless way to begin a painting.
Unsealed graphite can be mobilized by the first oil wash and by the solvent-bearing brushwork used to move it around. It may smear, lift into the wash, and muddy subsequent transparent passages. What began as a precise contour around a cheekbone or gauntlet can become a gray haze in the light side of the form. The risk is greatest when the drawing is dark, heavily burnished into the support, or repeatedly brushed over while the painter searches for the first value pattern.
This is not merely a cosmetic annoyance. Fantasy illustration often depends on clean, transparent early layers. A cool wash over a graphite-heavy cloud shape can turn dead and smoky before the intended color has even had a chance to establish itself. A pale horse, a silver helm, or the lit edge of a wing can lose clarity because loose gray material has migrated into a passage that should have remained clean.
A light workable fixative can help secure the drawing before the oil stage. The key is restraint. Heavy spray coats can create their own surface problems, darken values, or leave a slick barrier that the next layer does not enjoy. Several light passes, allowed to dry properly, are more sensible than one wet blast.
Some artists also prefer to establish the drawing again with a very thin, controlled paint wash rather than preserving every pencil line under the whole painting. This has an advantage: the drawing becomes part of the paint structure instead of remaining a vulnerable layer trapped underneath it. Burnt umber, transparent earth red, or a neutral mixture can work well for this purpose when kept lean.
For painters who want the pencil line fully protected, a compatible acrylic ground or acrylic underpainting may be part of the answer—but it should be a considered surface system, not an automatic coat added over every drawing. Oil can be painted over fully dry acrylic layers, and an acrylic value study is a dependable way to settle the composition before the oil work begins. The surface should be dry, stable, and have enough tooth for the oil layer to grip.
A useful sequence looks like this:
1. Finish the drawing on a properly prepared board or panel, keeping graphite clean and not excessively polished into the surface.
2. Remove loose dust gently. Do not grind it into the support with a cloth, where it can lodge in the tooth and create a dirty first wash.
3. Apply light workable fixative if the drawing needs to remain visible through the first stages. Let it dry completely before introducing any oil wash.
4. Decide whether the first value pass will be a lean oil wash or an acrylic underpainting. Do not build both systems casually on top of one another without knowing why.
5. If working in oil from the start, translate the essential drawing into the first thin paint pass before moving into richer color.
6. Once the painted drawing is established, stop relying on the graphite. The lines have done their job; the image should now be carried by value, shape, and edge.
The hybrid approach is especially useful for card-game and cover work. An acrylic tonal underpainting can settle the anatomy, lighting, and value hierarchy quickly. Oil then arrives for what it does best: the color temperature shifts in skin, the bloom of reflected light, the edge hierarchy between foreground creature and distant atmosphere.
Pro Workflows: Custom Recipes and Hybrid Underpainting
The most reliable professional workflow is rarely the most ornate. It is the one with the fewest surprises.
Custom recipes have a romance to them: damar varnish, sun-thickened linseed oil, Venice turpentine, a carefully guarded bottle with sediment at the bottom and a smell that announces itself from across the studio. Such mixtures can produce beautiful handling. They can also introduce variables that are difficult to control from one painting to the next. For an illustrator who needs repeatable drying, repeatable surface quality matters more than having a heroic medium recipe.
That does not mean custom mixtures are off limits. It means each ingredient needs a job. A drying oil may add body and leveling. A resinous component may increase gloss or drag. Solvent may lean the early layer and speed evaporation, though evaporation is not the same thing as oil curing. If you cannot say what an ingredient is doing in the specific layer, it probably does not belong in that layer.
For a deadline-oriented oil workflow, I would keep the system simple:
1. Drawing and value decision: establish the composition in graphite, a lean oil wash, or a dry acrylic underpainting. If graphite remains visible, secure it well enough that it will not contaminate the first transparent oil layers.
2. Early oil block-in: use paint with minimal medium, or a restrained alkyd mixture when a quick set is essential. Keep this stage thin and avoid building slick, glossy pools.
3. Main render: maintain a consistent medium choice across the bulk of the piece. This is where fast-setting oils or a modest amount of alkyd can keep the work moving without making every stroke glassy.
4. Final atmosphere and accents: introduce slightly richer paint only after the underlying passages are sufficiently set. This is where traditional oils can earn their keep, particularly in glazes and soft transitions.
5. Stop adding variables at the finish: a final day is not the moment to introduce a new drier, a new solvent, or a thick experimental glaze over a surface that has behaved well until then.
The straight hybrid method deserves its reputation because it respects the strengths of both materials. Acrylic handles the early logistics: fast value structure, large shape correction, and a dry foundation for the next day. Oil handles the final image: nuanced color, controlled opacity, and those transitions that make a painted fantasy scene feel inhabited rather than assembled.
For artists seeking solvent free oil painting mediums, the same discipline applies. Solvent-free does not mean consequence-free, nor does it mean every layer should be rich with oil. A solvent-free alkyd or oil-based medium may suit painters sensitive to mineral spirits, but it still changes flow, gloss, and drying. Work thinner where the structure needs to stay lean; use richer medium sparingly where the painting genuinely needs more open time or transparency.
The phrase best oil medium for fast drying is useful only if it is followed by another question: fast drying for what layer? A thin grisaille beneath a full-color render needs one answer. A final violet glaze across moonlit armor needs another. A medium that is perfect in the block-in can be miserable in the last hour of the painting.
The sensible choice is not the fastest product on the shelf. It is the one that lets the underpainting set without panic, leaves enough open time for the passages that require tenderness, and does not turn the final render into a surface chemistry experiment. In fantasy illustration, the dragon, the steel, and the weather get the glory. The medium’s job is quieter: make sure they are still there, intact and luminous, when the deadline arrives.