Toned ground oil painting: prep checklist for underpaintings
Most "muddy" oil paintings start two days before the first brushstroke. The failure isn't in the rendering — it's in the prep.
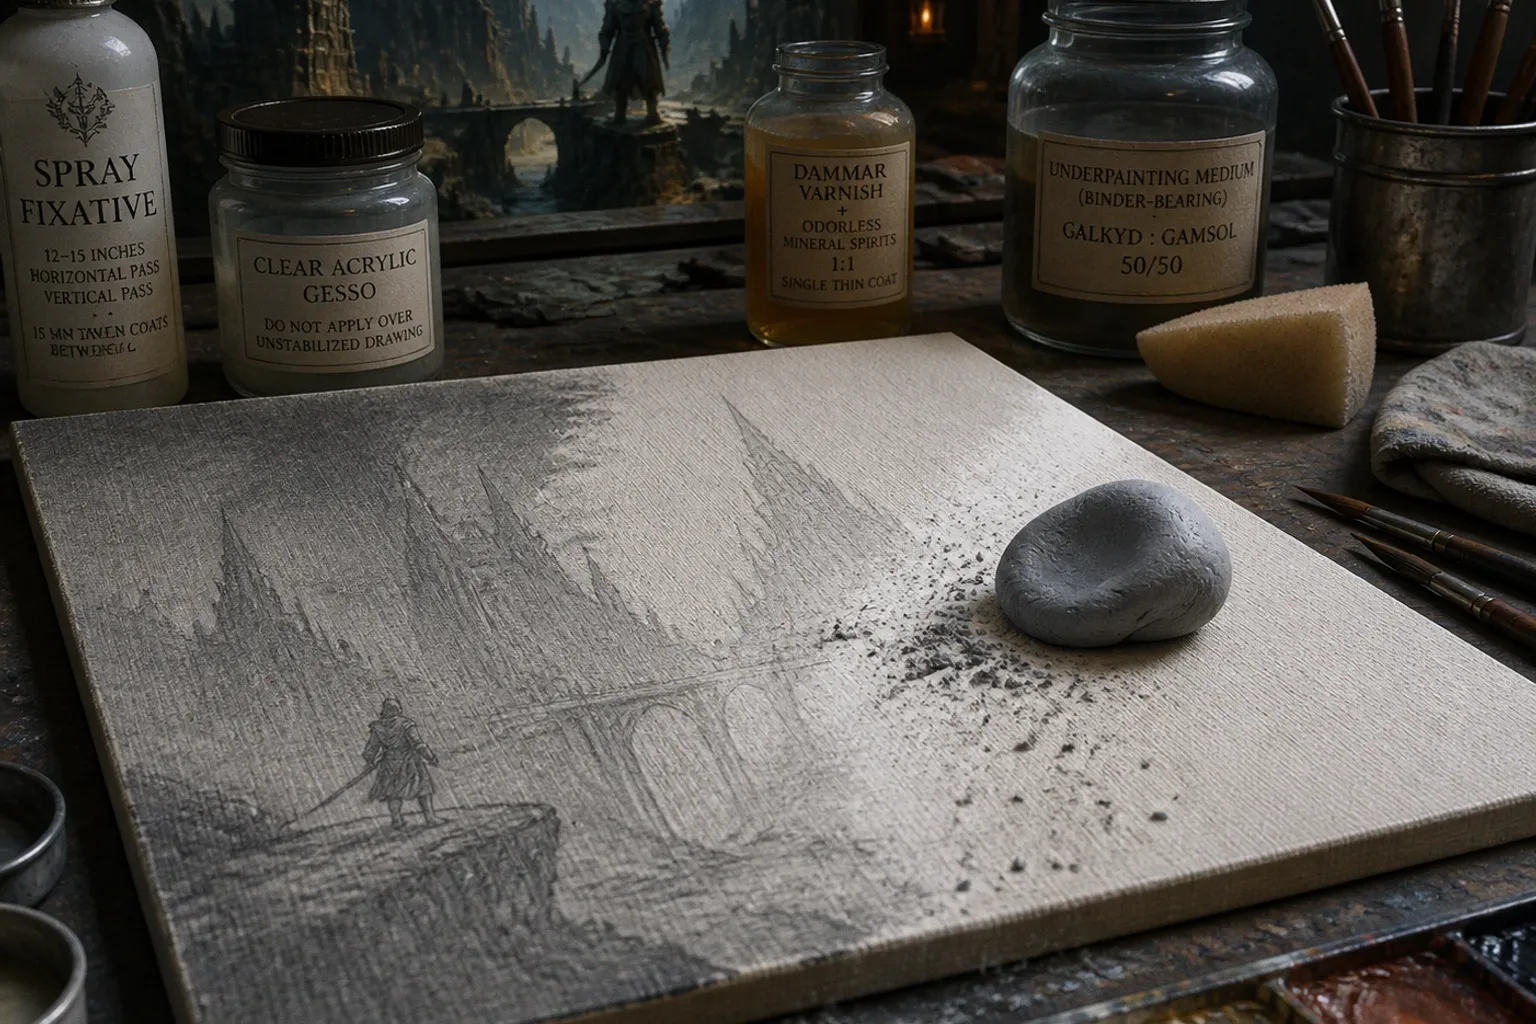
You shove a graphite sketch under acrylic gesso, let it dry for an hour, then wonder why your lightest highlights have turned into a foggy grey. The fact is simple: loose graphite sits on that surface like coal dust, and the second you introduce any wet medium, that dust mobilizes. Once mixed into your first wash, it spreads with the paint and never quite leaves. That's the haze you keep seeing in finished work that looks "off" but you can't name the cause.
Fix it before it starts. A proper toned-ground workflow has four checkpoints: stabilize the drawing, seal the support correctly, mix a wash medium that carries enough binder, and respect the drying clock on every layer beneath the oil. Skip one and the others can't save you. This is the prep checklist for fantasy illustrators working with pencil, acrylic ground, and oil — written from the bench, not a workshop manual.
Stabilize the graphite before anything touches it
The pencil sketch isn't your drawing. It's just a scaffold, and a messy one. Graphite sheds. Every time you sweep a hand across the surface, every eraser pass, every rest of a wrist — loose carbon particles migrate. They're invisible until you flood the area with a wash, and then suddenly your flesh tones are reading as 50% grey.
Two steps before you seal:
- Kneaded eraser pass. Press the eraser into a ball, then roll it gently across the pencil drawing with light pressure. Don't scrub — you're lifting loose carbon, not the lines you drew. This method clears up to 99% of the unbound graphite while leaving the structural drawing intact. Skip the soap erasers; they're too aggressive and chew into your tooth.
- Seal the survivors. Spray fixative, applied from 12 to 15 inches out, alternating horizontal and vertical passes, 15 minutes between coats. Two coats is the standard. The fixative locks the remaining carbon in place and prevents the wet medium from disturbing it.
The do-not-do list is short and absolute. Never lay clear acrylic gesso over raw graphite. The water content in the gesso mobilizes loose carbon instantly, creating a grey slurry that dries into the ground. The drawing shows through, but so does the contamination — and now it's permanently bonded.
If you can't see the haze, that doesn't mean it isn't there. Wet-on-dry graphite contamination hides until the final varnish highlights it.
Seal the support — the right way for paper, panel, and canvas
Sealing isn't optional. Paper eats oil paint from the inside out through slow saponification of the cellulose fibers; canvas and panel don't seal themselves with enough tooth to hold an imprimatura. The method changes by support, the logic doesn't: isolate the substrate, control absorption, give the wash something to grab.
| Support | Prep Sequence | Why This Sequence |
|---|---|---|
| Paper | PVA size → acrylic gesso → toned ground | PVA isolates cellulose fibers from oil; gesso builds tooth; ground gives value bias |
| Hardboard/panel | Acrylic gesso (2 coats) → toned ground | Panel density needs a sealed barrier; thin gesso keeps tooth workable |
| Stretched canvas | Acrylic gesso (2–3 coats, sanded) → toned ground | Weave texture demands extra filling; sanding prevents wash from pooling in weave hollows |
For panels used in classical sealing workflows, the traditional method still works: a 1:1 mixture of dammar varnish and odorless mineral spirits applied as a single thin coat with a soft sponge makeup wedge. This isn't for paper — it's a panel sealant. It creates an isolating film that oil washes can move on without sinking into raw substrate. The wedge matters more than the brush: a sponge wedge gives an even, drag-free layer; a brush drags and leaves ridges the wash will telegraph.
On paper, PVA size is the barrier layer. Without it, oil paint slowly oxidizes against the cellulose and the paper yellows and embrittles around the image. With it, the paper stays stable for decades. The full sequence on paper runs minimum 72 hours from start to finish, because each layer needs to dry before the next can go down without disturbing what's underneath.
Build a wash medium that actually has binder in it
Here's where most home studios fail the archival test. You thin oil paint with solvent and assume "thin" means "safe." It doesn't. Solvent-only washes make a paint film that's lean — meaning there's barely any binder holding pigment to surface. The wash looks fine for a week, then loses adhesion, chalks, and flakes. You saved ten minutes of medium mixing and lost the painting.
The fix is mechanical: every wash needs binder in the medium. The classic working ratio for fantasy illustration oil washes is a 50/50 blend of Galkyd and Gamsol. Galkyd carries the binder; Gamsol carries the flow. The wash stays workable long enough to manipulate, then sets up with adhesion instead of starving out.
Quantity matters more than recipe:
- Thin imprimatura layer (transparent value block-in): dilute paint to the consistency of ink. Pure medium-to-pigment, with the 50/50 Galkyd/Gamsol blend as the thinner.
- Sketch wash (roughing in shadow shapes): dilute further, almost a glaze. The medium ratio stays constant — only pigment load drops.
- Toned ground layer (mid-value foundation): this goes on before the drawing, so it can be a touch thicker. Still binder-rich.
A common shortcut is to substitute linseed oil for the Galkyd. Don't, at least not in pure form. Linseed yellows over time and shifts the value bias of your ground — which is why you toned it in the first place. Galkyd (or any alkyd medium) yellows less and dries faster, keeping the ground's color decision intact for years.
Drying times are not suggestions — they're architecture
If you remember nothing else, remember the drying clock. Oil paint doesn't dry in your head; it dries on the support. And what dries beneath an oil layer determines whether that layer survives.
The drying rules:
- Thin acrylic underpaintings: minimum 3 days before oil goes on top.
- Thick acrylic underpaintings: 2 to 3 weeks, not "until it feels dry to the touch." Acrylic feels cured long before it actually is. Touch-dry is gas. Fully polymerized is the only state that holds oil on top.
- Spray fixative coats: 15 minutes between passes, then 30 minutes minimum before sealing.
- Gesso on paper: minimum 72 hours total before any wash touches the surface.
Three days feels excessive when you're trying to ship a piece for a deadline. It's not. Oil paint applied over uncured acrylic delaminates within months — sometimes weeks if the acrylic is thick and the climate humid. The oil slides off in sheets. The painting dies on the spot, and the only fix is to strip and restart, which costs more time than waiting would have.
When you're working over an existing acrylic ground that's cured fully (say, a panel you've had gessoed for a month), oil adhesion still isn't automatic. Glossy acrylic surfaces are slick — oil paint wants to slide rather than bite. The countermeasure: modify the oil paint with at least 5% stand oil or alkyd medium, or 10% linseed oil if that's all you have. The added oil increases the paint's "grab" on the slick surface and prevents sliding or flaking. Oil layers between 0.05 mm and 0.25 mm thick are especially vulnerable on glossy acrylic without this modification — the layer is too thin to lay down any adhesion of its own and too thick to behave like a glaze.
Putting the prep checklist in order
Run this sequence and the underpainting holds. Skip a step and the result drifts somewhere between "doesn't look right" and "destroyed piece." There is no middle ground in oil prep — that's not pessimism, that's chemistry.
1. Complete the pencil underdrawing at the grade your ground's tooth supports (lighter pressure for smooth surfaces, harder pencils for tooth-heavy canvas).
2. Kneaded eraser pass — gentle pressure, full coverage.
3. Spray fixative, two coats, 12–15 inches, alternating directions, 15 minutes apart.
4. PVA size on paper; acrylic gesso on panel or canvas (2 coats, sanded smooth on canvas).
5. Toned ground layer (oil or acrylic, depending on the substrate and intended underpainting).
6. Wait. 3 days minimum for thin acrylic, 2–3 weeks for thick. Don't rush.
7. Underpainting wash in a 50/50 Galkyd/Gamsol medium. Binder in every brushload.
8. Modify top oil layers with 5% alkyd or 10% linseed oil if working over cured glossy acrylic.
Most underpainting failures are prep failures wearing a rendering costume. The drawing wasn't wrong. The supports weren't sealed. The medium was starved. Fix the prep and the painting stops fighting you.
The romantic version of this craft says the muse arrives and the painting happens. The pragmatic version says the muse shows up after the third day of waiting for acrylic to cure, and by then you already know whether the underpainting will hold for the next decade. Prep is where the work lives before the work begins. Treat it like the foundation it is, not the formality it isn't.