Sunken oil paint: the oiling out method for dark values
Most dead-looking darks are not a colour-mixing failure. They are a surface failure.
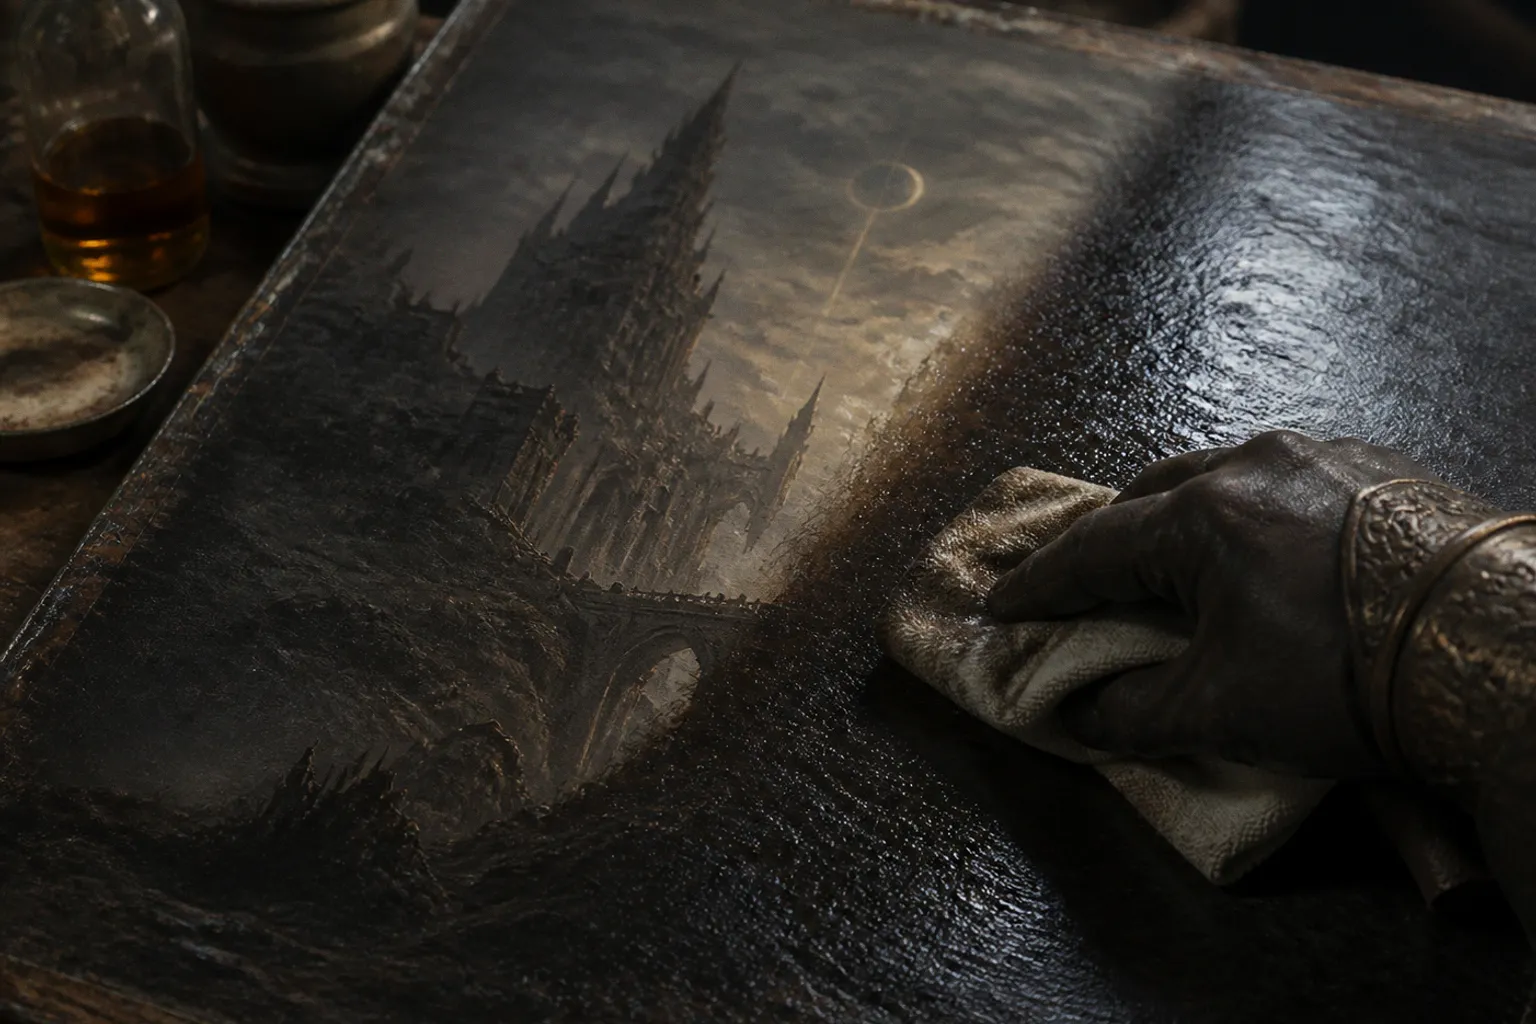
You paint a near-black cloak, a night sky, a creature disappearing into a cave mouth. It reads correctly while wet: deep value, clear temperature, proper menace. Then the layer dries and parts of it collapse into a chalky, greyish matte. The shadow has not become lighter in pigment. It has lost its surface saturation and, with it, much of its authority.
That is the problem oiling out solves. Not “making a painting glossy.” Not rescuing bad drawing. Not applying a ceremonial coat of oil because old masters apparently enjoyed extra chores. Oiling out sunken patches in oil painting is a controlled surface correction: a whisper-thin application of medium that restores the optical depth lost when an absorbent ground or porous lower layer pulls oil from the paint film.
In fantasy illustration, this matters disproportionately. Dark masses do real narrative labour. They frame faces, hide information, push a focal point forward, and keep a glowing spell or steel edge from floating in empty space. If the shadows sink in, the whole visual hierarchy starts quietly coughing in the corner.
Why dark paint sinks in—and why it ruins the image so efficiently
A sunken area is usually easy to spot under raking light. One passage reflects evenly; another looks dry, pale, and oddly powdery. The effect is especially obnoxious in dark values, because dark paint depends on a coherent surface to look deep. Once the oil binder has been absorbed from the upper layer, pigment particles scatter light more diffusely. The colour appears flatter and less saturated.
The usual culprits are familiar:
- An absorbent ground or panel preparation. A very thirsty ground can pull oil from the first paint layers with impressive speed.
- Lean, solvent-heavy underpainting. Useful for quick block-ins. Less useful when it leaves a porous carpet for later paint to sink into.
- Uneven paint handling. A broad area painted with varying medium content can dry into islands of gloss and matte.
- Repeated corrections. Scumbling, wiping back, repainting, then adding another dark glaze-like layer can create a surface with wildly different absorbency.
- Thin dark passages over a dry, matte layer. This is a standard route to a weak-looking background. The paint may be chromatically correct. The support simply drinks its lunch.
The important distinction is this: sinking is not necessarily a structural disaster. It is often a surface condition. But it is also diagnostic. If a painting is sinking everywhere, one should not keep treating symptoms with more and more medium. The ground, the early layers, or the general fat-over-lean progression may be the actual problem.
A dark passage is not “rich” because it contains black paint. It is rich because its value, temperature, edge, and surface all hold together.
For narrative work, inspect sunken areas in relation to the focal point. A matte patch behind a figure’s head may be harmless—or useful, if it keeps the face readable. A sunken patch in the figure’s black armour, however, can erase form modelling and turn a deliberate silhouette into a cardboard cutout. Context first. Technique second. That order saves a lot of pointless polishing.
Oiling out is a correction layer, not a magic varnish
The basic operation is brutally simple: apply a very thin layer of suitable painting medium to the dry matte area, allow it to wet the surface, then wipe away the excess thoroughly with a clean, lint-free cloth.
That last step is where people sabotage themselves. They see the dark regain its depth and decide more shine equals more success. It does not. A wet-looking film left sitting on the painting can become sticky, overly glossy, and hostile territory for the next paint layer. It may also cure poorly or wrinkle. The drama is avoidable. Wipe the excess.
A practical medium for this purpose can be made from equal parts linseed oil and mineral spirits or turpentine. The solvent helps the mixture spread thinly and penetrate the dull surface; the oil restores the binder-rich optical quality that the paint layer has lost. The goal is a balanced, controllable film—not a puddle of oil with a little solvent thrown in for moral support.
| Surface condition | What it looks like | What oiling out should do | What it cannot do |
|---|---|---|---|
| Local matte patch in a dark passage | Greyed, low-contrast, dry-looking spot | Restore saturation and make the value read coherently | Repair weak drawing or muddy colour mixing |
| Uneven sheen across a painted form | Alternating gloss and matte passages | Normalize the surface before further painting | Make unrelated brushwork suddenly look intentional |
| Broadly absorbent first layer | Large areas sink in after drying | Provide temporary visual unity for continued work | Fix an improperly prepared ground permanently |
| Damaged or physically unstable paint film | Cracking, lifting, flaking, wrinkling | Nothing safely predictable | Replace conservation treatment |
The phrase “temporary visual unity” matters. Oiling out is generally done to prepare a dry painting surface for continued painting, especially when a sunken passage prevents accurate value judgement. It is not the final protective layer of the painting. Final varnishing is a separate decision, made after the painting has sufficiently cured, with a material intended for that job.
Do not blur those two operations because both make colours look more saturated. A wet street and a museum varnish may both reflect light. They are not the same event.
Build the medium for control, not spectacle
There is no prize for the glossiest surface in the studio. The medium must be thin enough to spread without leaving ridges, sparse enough to avoid a greasy film, and consistent enough that the next layer has a sound surface to grip.
A 1:1 mixture of solvent and linseed oil is a sensible starting point for a small oiling-out session. Mix only what you need. This is not a sauce to bottle theatrically and forget behind a pile of panels.
Apply it with a soft brush, clean cloth, or lint-free pad. The tool matters less than restraint. A brush is useful when the sunken region has complex edges—a dark helmet against a pale sky, for instance—because it lets you place the medium without flooding adjacent passages. A cloth or pad works well over a broad, simple background.
The sequence should look like this:
1. Wait until the affected paint is dry enough to receive a new layer. Oiling out over paint that is still soft is not correction; it is interference. The surface must not move, drag, or pick up under light contact.
2. Identify the genuinely sunken areas under neutral light. Do not chase every shift in reflection. Tilt the painting, look at it from more than one angle, and find the patches that have actually lost saturation or value depth.
3. Apply the medium in an extremely thin film. Work it into the dull area rather than laying it on top like syrup. The intention is to re-saturate the surface, not build a separate glossy skin.
4. Let the surface take the medium briefly. The exact interval depends on the paint film, ground, room conditions, and medium. There is no useful universal stopwatch number here. Watch the surface instead.
5. Wipe it back decisively with a clean, lint-free cloth. Remove all visible surplus. Buff lightly if needed, but do not grind at the paint surface. The result should look revived, not freshly lacquered.
6. Assess again after the film has settled. If the value reads correctly, stop. The urge to add a second generous application is usually just impatience wearing an apron.
The best oiling out is nearly invisible as an operation. The viewer should see a coherent dark passage, not a slick patch that announces its own maintenance history.
Restoring dark values without flattening the painting
Restoring oil paint saturation is useful because it lets us judge value relationships properly. It is not useful if we use the revived gloss as a substitute for actual painting decisions.
Consider a typical fantasy composition: a pale face in three-quarter view, framed by a fur collar and a near-black forest behind it. The background must sit back, the collar must carry texture, and the face must own the focal point. If the forest sinks in, it may turn too light and begin competing with the face. Oiling out can return that background to its intended depth. Good. The framing works again.
But if the collar itself is painted as one uniform black mass with no temperature shift, no edge variety, and no indication of plane change, oiling out will merely give a better finish to a bad decision. The composition remains dead. It is now dead with improved saturation.
This is where traditional painting technique becomes narrative technique. Dark values should not be treated as empty storage space between interesting objects. They carry edge control, depth cues, and directional force.
Use the revived surface to ask sharper questions:
- Does the dark shape push the eye toward the focal point or trap it at the edge of the panel?
- Are the deepest values reserved for the places that need them, or scattered everywhere because “dramatic” sounded like a plan?
- Does the restored saturation reveal a warm-cool structure inside the shadow?
- Are the edges around the main silhouette intentional—lost, found, sharp, soft—or merely the leftovers of a rushed block-in?
- Is the background now sufficiently quiet, or has the revived sheen made it louder than the subject?
A black dragon against a black sky is not automatically cinematic. It is usually just unreadable. The image needs separation: a temperature shift, a controlled edge, a broken silhouette, reflected light used sparingly, or a value step placed where the narrative hook needs recognition. Oiling out helps us see these relationships. It does not invent them.
If the focal point disappears when the matte surface is corrected, the painting did not have a focal point. It had a lighting accident.
The wipe-back is the whole discipline
The most common failure in oil painting surface correction is leaving too much medium on the canvas or panel. The painter sees the colours bloom back to life and stops there. It feels satisfying. So does adding too much contrast to a digital file at 2 a.m. Neither impulse has ever been a reliable technical method.
Excess oil creates several problems at once. It can leave a sticky surface that resists clean brushwork. It can produce an uneven gloss that makes future judgement harder, not easier. It can compromise the adhesion of subsequent paint layers. And if the film is overly rich, it may cure badly and develop surface defects, including wrinkling.
The cloth should come away with surplus medium. That is not a mistake. That is the operation working.
For a controlled wipe-back:
- Use a clean, lint-free cloth rather than a rag that sheds fibres into dark paint passages. Nothing says “professional fantasy illustration” like a constellation of accidental lint.
- Fold the cloth to present a fresh area frequently. Once it is saturated, it redistributes medium rather than removing it.
- Wipe with light, broad contact. Do not scrub a dry layer as though trying to erase a bad week.
- Check the surface from the side. If it looks wet in pools or streaks, there is still too much medium.
- Keep the intervention local when possible. A painting does not need a full-body oil bath because one shadow on a gauntlet went matte.
This restraint is particularly useful on panels. A smooth panel makes it easier to see surface irregularity, but it also makes excess medium painfully obvious. On a textured canvas, the weave can hide a little sloppiness until the next layer catches oddly on the high points. The problem has not vanished. It has simply moved to a more expensive stage of the process.
Underpainting choices determine how often you need the fix
Oiling out is valuable. Needing it constantly is a message.
A lean underpainting can be efficient in traditional media illustration. A thin oil wash over pencil, for example, can establish the value map quickly; it lets us test the narrative read before committing to thicker paint. It can also create a very absorbent foundation if the paint film is too solvent-heavy or the ground is particularly thirsty. Then later dark passages begin sinking in, and the painter ends up correcting the same mechanical problem repeatedly.
The answer is not to abandon lean starts. It is to manage them.
When blocking in a fantasy oil sketch, keep the early layer deliberate:
- Establish the large value design before chasing rendered detail. If the silhouette fails in the block-in, no medium will save it.
- Avoid turning every early mixture into a solvent wash. Thin paint has a job; it does not need to become a stain.
- Pay attention to ground absorbency before the important painting session, not after the final shadow has gone dull.
- Build subsequent layers with a sensible increase in oil content where required, rather than randomly alternating dry, solvent-rich applications with rich, oily ones.
- Reserve oiling out for actual sunken passages that obstruct judgement or need preparation for the next layer.
There is also a compositional benefit to this discipline. Painters who know their surface will remain predictable tend to make cleaner decisions about darks. They do not keep overcompensating for a matte patch by adding more black, more umber, more glaze, more confusion. A stable process produces a stable visual hierarchy.
Oiling out versus final varnish: stop assigning one job to two materials
Oiling out and final varnishing both alter how light moves across a painting. That superficial resemblance causes endless bad advice.
Oiling out is a working-stage technique. It addresses dry, sunken-in paint layers so the artist can recover colour depth and continue painting on a more unified surface. The medium is applied sparingly and excess is wiped away. It is part of painting practice.
A final varnish is a protective finishing layer. It is not a casual coat of oil, and oiling out is not a substitute for it. Treating oiling out as permanent varnish invites an unnecessarily unstable surface and confuses the material logic of the painting.
The distinction matters even more for illustrators working to reproduce paintings. A glossy, freshly oiled-out surface can photograph differently from the eventual cured painting. Highlights flare, darks may appear richer under certain lighting, and subtle brushwork can vanish under reflections. If the piece is intended for scanning or photography, evaluate the image under the lighting conditions that will actually be used. The camera is not sentimental. It records glare with the same enthusiasm it records your hard-won rendering.
The real test: does the image regain its command?
The point of oiling out sunken patches in oil painting is not cosmetic perfection. It is to restore the conditions for accurate judgement and controlled continuation.
When the dark values recover their saturation, look at the painting as a piece of visual storytelling. Does the negative space frame the subject? Does the foreground separate from the background? Does the eye travel where the composition tells it to travel? Can the silhouette still be read at thumbnail size? Those are the questions that decide whether the technique served the image.
Use a balanced solvent-to-oil medium in an extremely thin application. Wipe it back hard. Let the surface regain depth without turning into a glossy liability. Then paint the next layer with intent.
A sunken shadow is a technical problem. Leave it untreated, and it becomes a narrative one.